Visual Translation
With translation, a whole lot of information is lost - you wouldn’t really be able to see from a traditionally translated version of some text, which characters in the original correspond to what (unless you can understand the original too).
After coming across a Touhou song that seemed pretty interesting to try and translate, and after deciding translate it, I started thinking about a good way of showing which words are translated from what. The answer: a system where hovering over the text highlights the corresponding parts. Then, I made it happen.
The way I implemented something like this is for the web was by using a bunch of <span>s to split up translated text into bits which can highlight when you move your mouse over them.
It’s pretty easy implementing this, actually: just give IDs to the spans and, using javascript, when the mouse is over the it, change the colours of all the spans with the selected ID. Right?
Well, basically, yeah, but when you have spans inside of spans, it’s a bit more complex.
The Code
Let’s say we want to implement this highlighting for some markup like this:
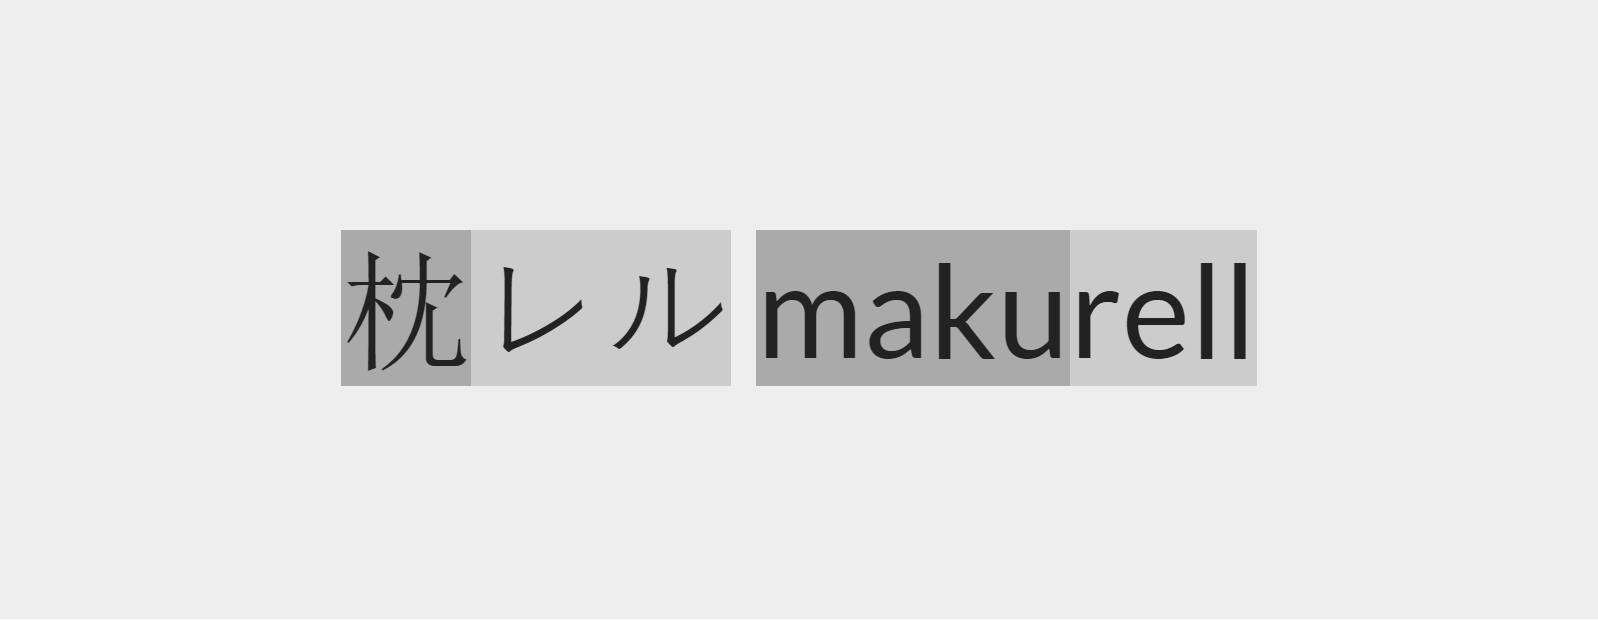
<span class="t0"><span class="t1"><span class="t2">maku</span>rell</span> is ma name</span>.<br>
<span class="t0"><span class="t1"><span class="t2">枕</span>レル</span>は俺の名前だ</span>
When we hover over the span with t2, we want the stuff with t2 to be highlighted, and we want the stuff with t1 to be highlighted too (since we are hovering in that section), but slightly less dark, etc.
Here’s how to implement this in jquery (javascript):
Let’s first of all say that all the sections should have a be highlighted grey by default (to show that they can be interacted with I guess). So we have to select every span with class begining with “t” using span[class^="t"], calculate the ‘depth’ of the section. Make the top-level section the base colour, and make all of those under it inherit that colour.
function reset(){
    $('span[class^="t"]').each(function (){
      var depth = $(this,"p").parents('span[class^="t"]').length+1
      if(depth>1){
        $(this).css('cssText','background-color:inherit');
      }else{
        $(this).css('cssText','background-color:#dedede');
      }
    });
  }
We should call that function onDocumentReady. Now, for the main code:
var objs=$('span[class^="t"]');
objs.mouseenter(function(e){
  var depth=$(this,"p").parents('span[class^="t"]').length+2;

  var val=255-(depth*30);
  $('span.'+$(this).attr('class')).css('cssText','background-color: rgb('+val+','+val+','+val+')');
});

objs.mouseleave(function(e){
  var depth=$(this,"p").parents('span[class^="t"]').length+2;

  if(depth>2){
    $('span.'+$(this).attr('class')).css('cssText','background-color: inherit');
  }else{
    $('span.'+$(this).attr('class')).css('cssText','background-color: #dedede');
  }
});
So basically here all it’s doing is: when the mouse enters a section, it will change the section to a colour depending on the depth of the section (the mouseenter function be called for every section the mouse is over), and when the mouse leaves a section, if the section is not a top-level section, it will set the section’s colour to inherit otherwise it will set it to the default, base colour.
I kinda wanted to make it so that it’s as if all of the sections are highlighted at the start cause it looks pretty cool at the start, so I tweaked the code a bit, but here is everything together:
var hover_reset=false;
	function init(){
	$('span[class^="t"]').each(function (){
	  var depth = $(this,"p").parents('span[class^="t"]').length+1
	  var val=255-(depth*30);
	  $(this).css('cssText','background-color: rgb('+val+','+val+','+val+')');
	})
	};
	function reset(){
	$('span[class^="t"]').each(function (){
	  var depth = $(this,"p").parents('span[class^="t"]').length+1
	  if(depth>1){
	    $(this).css('cssText','background-color:inherit');
	  }else{
	    $(this).css('cssText','background-color:#dedede');
	  }
	});
}
$(document).ready(function(){
	init();
	var objs=$('span[class^="t"]');

	objs.mouseenter(function(e){
	  if(!hover_reset){
	    reset();
	    hover_reset=true;
	  }
	  var depth=$(this,"p").parents('span[class^="t"]').length+2;

	  var val=255-(depth*30);
	  $('span.'+$(this).attr('class')).css('cssText','background-color: rgb('+val+','+val+','+val+')');
	});

	objs.mouseleave(function(e){
	  var depth=$(this,"p").parents('span[class^="t"]').length+2;

	  if(depth>2){
	    $('span.'+$(this).attr('class')).css('cssText','background-color: inherit');
	  }else{
	    $('span.'+$(this).attr('class')).css('cssText','background-color: #dedede');
	  }
	});
});
Here’s what it looks like (try it out!):
枕レルは俺の名前だ
Okay. This is pretty cool and all, but is it really practical? I mean, is it really practical to have all these span elements to mark out where all the sections are? No. Let’s face it: this would be a nightmare to work with when you have more complicated text. Like this (the first part of the song):
<span class="t061">What <span class="t064">can't be seen</span> <span class="t062">in <span class="t063">light</span></span></span> <span class="t067">may be <span class="t066">seen clearly</span> <span class="t065">in darkness</span></span><br>
<span class="t068"><span class="t069">From <span class="t0612">rain</span> to <span class="t0613">wind</span></span>, <span class="t0610"><span class="t0614">sunny</span> to <span class="t0615">bleak</span></span>; <span class="t0611"><span class="t0616">fortune</span> and <span class="t0617">misfortune</span></span></span> - <span class="t0618">all of them</span>: <span class="t0619"><span class="t0621">the work</span> <span class="t0622">of the <span class="t0620">heavens</span></span></span>.<br>
<span class="t0623"><span class="t0628">Upon</span> the <span class="t0624"><span class="t0625">ocean-current</span><span class="t0626">-like</span></span> <span class="t0627">constellations</span></span>, <span class="t0629">people,</span> <span class="t0631"><span class="t0632">like</span> <span class="t0630">burning</span></span>, <span class="t0633"><span class="t0634">like</span> <span class="t0635">freezing</span></span>, <span class="t0636"><span class="t0638">wish</span> <span class="t0637">thrice</span> their <span class="t0639">wishes</span></span> -<br>
<span class="t060641">upon <span class="t060642">the glittering</span> of <span class="t0640">the flock</span></span> -<br>
<span class="t06061">the <span class="t06062">quintuplet</span> <span class="t06063">star cluster</span></span>.<br>
From rain to wind, sunny to bleak; fortune and misfortune - all of them: the work of the heavens.
Upon the ocean-current-like constellations, people, like burning, like freezing, wish thrice their wishes -
upon the glittering of the flock -
the quintuplet star cluster.
See the thing is, I was planning to actually use this because I wanted to translate that song, remember? So, basically, I just made my own, slightly simpler, syntax for this thing and made a processor which can take that syntax in and spit out html which looks like the above for me (actually it will spit out markdown but you know what I mean), taking care of stuff like making sure the IDs are unique, etc.
New Syntax
Basically, what it does:
- simplifies the opening
<span class='tX'>to justX{and the ending</span>to}. - no need to put the
<br>s and stuff - a lot of the time, the brackets don’t explicitly need to be numbered, since they can just be numbered in order from left to right automatically
It looks something like this, which is a lot easier to work with:
{% translate %}
{{{天}の}1{仕業}}

{{{ten} no} 1{shiwaza}}

{1{the work} {of {the heavens}}}
{% endtranslate %}
This will output:
><div class="kanji"><span class="t26262"><span class="t26263"><span class="t26264">天</span>の</span><span class="t261">仕業</span></span></div>
><div class="roumaji"><small><span class="t26262"><span class="t26263"><span class="t26264">ten</span> no</span> <span class="t261">shiwaza</span></span></small></div>

<div class="translation"><span class="t26262"><span class="t261">the work</span> <span class="t26263">of <span class="t26264">the heavens</span></span></span><br>
</div>
天の仕業ten no shiwaza
As you can see, there’s just a section for the kanji, one for roumaji and one for the translation and it looks a lot less terrible than the huge HTML equivalent. In this example, “仕業” (work) needs to be explicitly labeled since the word order in English is different to that of the Japanese, but the others don’t need to be: the processor handles it.
Also, the translation section is marked out with {% translate %} and {% endtranslate %} which very much looks like Jekyll’s liquid syntax (this site was made with the help of Jekyll btw) because why not.
I made a preprocessor to expand out this syntax in python, and made it run whenever I make changes to my other website, where I am thinking of translating stuff, which will very much use this highlighting system.
Why didn’t I just make a Jekyll plugin? Well because GitHub Pages doesn’t allow that (lol let’s be real - it’s just because I don’t really know Ruby and couldn’t be bothered to write one in Ruby tbh)
Anyway, point is, I wrote a python script to expand out this syntax I created. I made it really quickly and it’s not that great code at all, but it’s good enough for my needs and it pretty much does it’s job.
import os
import random
import re
import sys
from io import StringIO


def process_raw(raw):
    ret=raw
    i=0
    off=0
    for match in re.finditer(r'{%\s*translate\s*%}([\s\S]*?){%\s*endtranslate\s*%}',ret):
        blen=len(ret)
        value=match.group(1)
        ret=re.sub(r'{%\s*translate\s*%}([\s\S]*?){%\s*endtranslate\s*%}','',ret,count=1)
        index=match.start(0)+off
        ret=ret[:index]+process(value,i)+ret[index:]
        off+=len(ret)-blen
        i+=1
    # print(ret)
    return ret

def expand(text,context_id):
    ret=text.replace('\\{','{').replace('\\}','}')
    ret=assign_brackets(text,context_id)
    ret=re.sub(r'(\d+)\{',r'<span class="t'+str(context_id)+r'\1">',ret)
    ret= re.sub(r'\}',r'</span>',ret)
    return ret

def assign_brackets(text,context_id):
    ret=''
    curid=get_last_bracket(text)+1
    for i in range(len(text)):
        if text[i]=='{':
            if i == 0 or not text[i-1].isdigit():
                ret+=str(context_id)+str(curid)+'{'
                curid+=1
                continue
        ret+=text[i]
    return ret

def get_last_bracket(text):
    l=[]
    for match in re.finditer(r'(\d+)\{',text):
        l.append(int(match.group(1)))
    return max(l) if len(l)>0 else 0

def process(s,context_id=None):
    if context_id is None:
        context_id=random.randint(0,1000)
    else:
        context_id=str(context_id)+str(random.randint(0,9))
    kanji=''
    roumaji=''
    trans=''
    state=0
    with StringIO(s) as reader:
        while state<=3:
            line=reader.readline()
            # if line.startswith('>') or (len(line.strip())==0 and state>0):
            if len(line.strip())==0:
                line=line[1:].strip()+'\n'
                state+=1
            if state==1:
                kanji+=line
            elif state==2:
                roumaji+=line
            elif state==3:
                trans+=line

    ret=''
    ret+='><div class="kanji">'
    splines=kanji.splitlines()
    for i in range(len(splines)):
        if len(splines[i].strip())<=0:continue
        ret+=expand(splines[i],context_id)
        if i<len(splines)-1:
            ret+='<br>'
    ret+='</div>\n><div class="roumaji"><small>'
    splines=roumaji.splitlines()
    for i in range(len(splines)):
        if len(splines[i].strip())<=0:continue
        ret+=expand(splines[i],context_id)
        if i<len(splines)-1:
            ret+='<br>\n'
    ret+='</small></div>'
    ret+='\n\n'
    ret+='<div class="translation">'
    for line in trans.splitlines():
        if len(line.strip())<=0:continue
        ret+=expand(line,context_id)+'<br>\n'
    ret+="</div>"
    return '\n\n'+ret+'\n\n'

def preprocess_file(src):
    filename=os.path.basename(src)
    raw = None
    with open('_translation_posts/' + filename, 'r', encoding='utf-8') as f:
        raw = f.read()
    output = process_raw(raw)
    if output != raw:
        with open('_posts/' + filename, 'w', encoding='utf-8') as f:
            f.write(output)
    print(filename)

def preprocess():
    for filename in os.listdir('_translation_posts'):
        preprocess_file(filename)

if len(sys.argv)>1:
    preprocess_file(sys.argv[1])
else:
    preprocess()
Well that’s what it looks like right now. I’ll probably change it a lot soon. The actual script can be found in the source code to my other website.
The way I made it reprocess the files every time it is modified (to help when making content) is by using watchdog - the command line utility watchmedo to be specific.
I simply made this powershell script that I run every time I want to locally test my website:
python preprocess.py
start "watchmedo" "shell-command -w -R -c""python preprocess.py ${watch_src_path}"" _translation_posts"
start "jekyll" "serve --host=0.0.0.0 --drafts"
That’s about it. Thanks for reading. You can find my full translation of that song I was talking about and other cool stuff on that website if you’re into that kind of thing. Click here.